Homeownership comes with its fair share of maintenance tasks, but not every repair requires a professional. With a little time and effort, you can tackle several common household fixes yourself—saving money and gaining a sense of accomplishment. Whether you’re a seasoned DIYer or a beginner, these easy home repairs can be completed in just a weekend. Here’s how to get started.
Fixing a Leaky Faucet
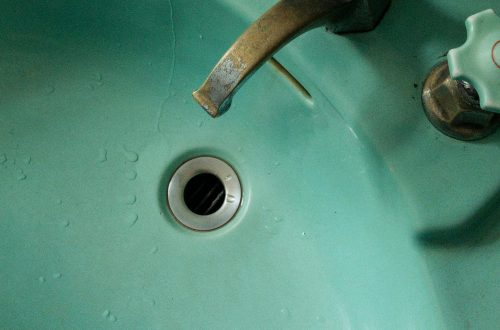
A dripping faucet isn’t just annoying—it can also waste gallons of water and increase your utility bills. Fortunately, fixing a leaky faucet is simpler than you might think.
What You’ll Need
- Adjustable wrench
- Screwdriver set
- Replacement washers or O-rings
- Plumber’s grease
Steps to Follow
- Turn off the water supply under the sink to prevent any accidents.
- Remove the faucet handle using a screwdriver to access the internal components.
- Inspect the washer or O-ring for wear and tear—this is usually the culprit behind leaks.
- Replace the damaged part and reassemble the faucet, applying plumber’s grease if needed.
- Turn the water back on and test for leaks.
With just a few tools and patience, you can stop that persistent drip and enjoy a quiet, leak-free faucet.
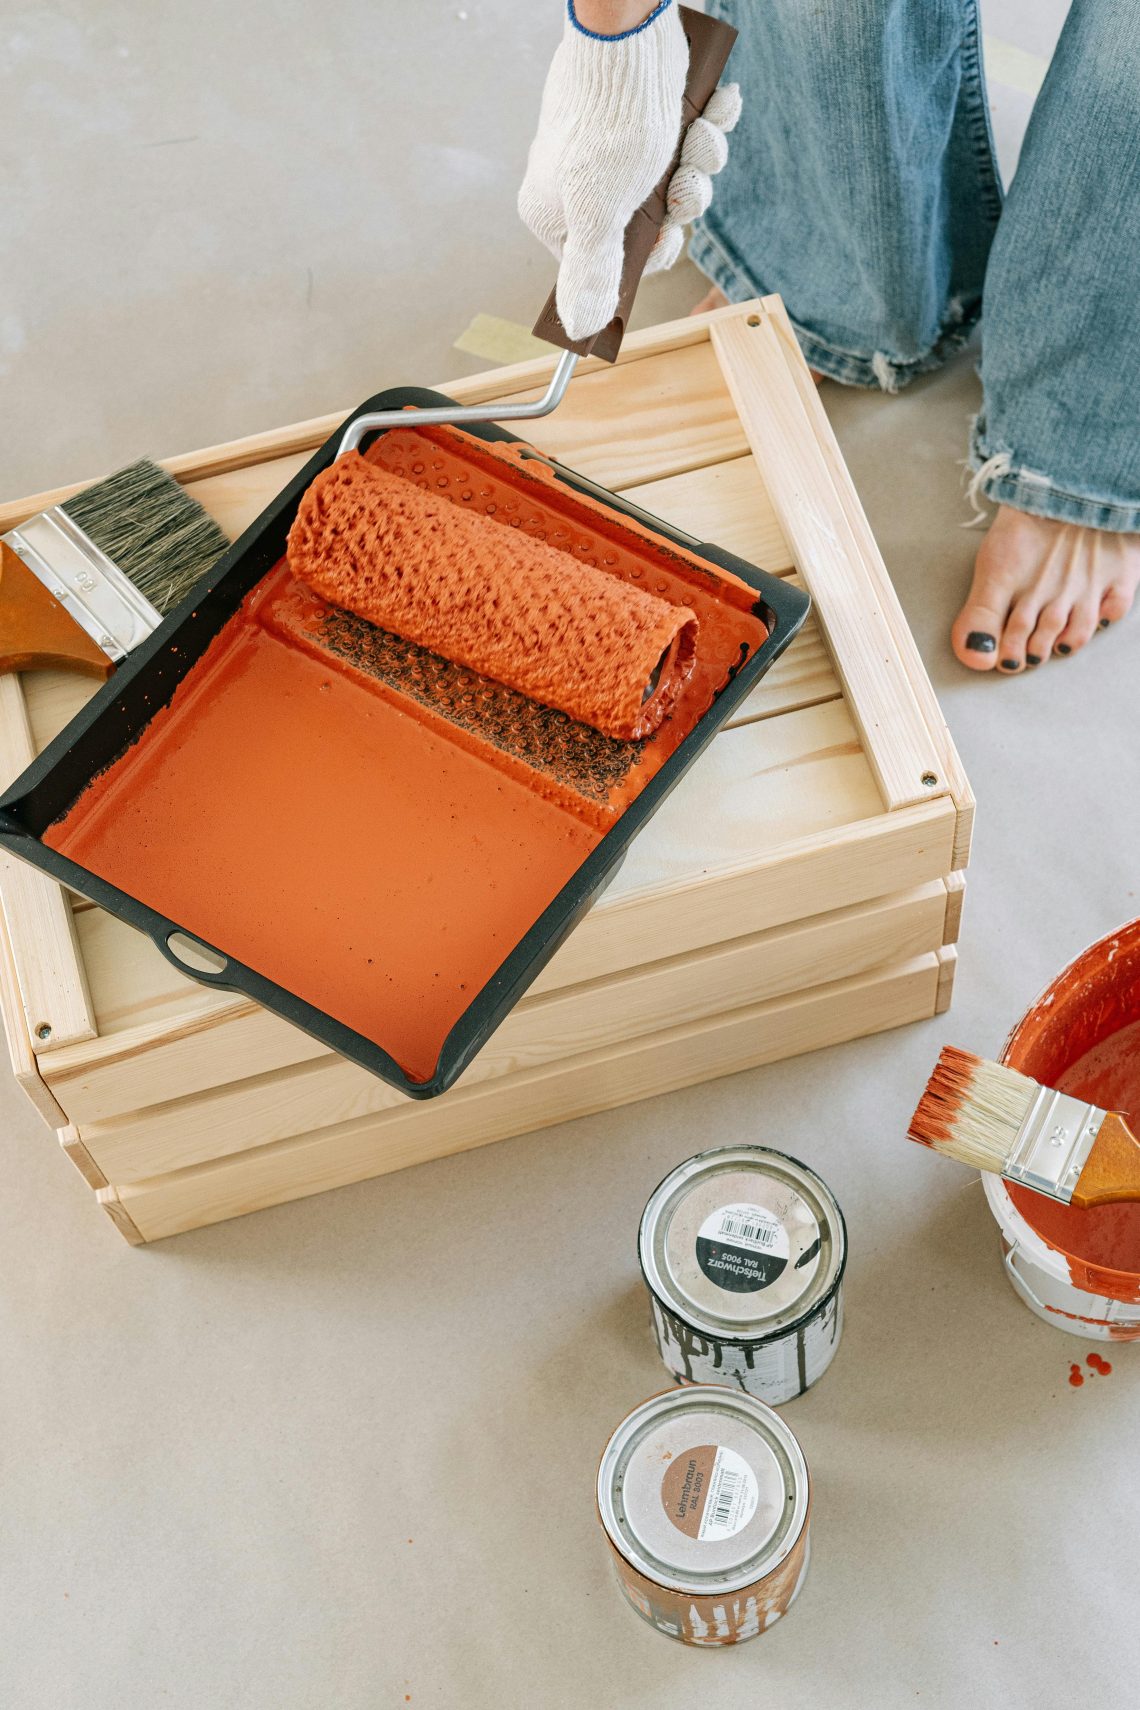
Patching Small Holes in Drywall
Accidents happen, and small holes in drywall are a common issue. Whether from a doorknob or a misplaced nail, these imperfections are easy to fix.
What You’ll Need
- Spackling compound
- Putty knife
- Sandpaper (medium grit)
- Paint and brush (to match your wall)
Steps to Follow
- Clean the hole by removing any loose debris or drywall fragments.
- Apply spackling paste with a putty knife, smoothing it over the hole.
- Let it dry completely—usually a few hours or overnight.
- Sand the area until it’s flush with the wall.
- Touch up with paint to blend the repair seamlessly.
This quick fix will leave your walls looking as good as new, without the need for a professional.
Unclogging a Slow Drain
A slow-draining sink or shower can be frustrating, but before you call a plumber, try these simple solutions.
What You’ll Need
- Plunger
- Baking soda and vinegar
- Drain snake (optional)
Steps to Follow
- Use a plunger to create suction and dislodge minor clogs.
- Pour a mixture of baking soda and vinegar down the drain—let it sit for 15 minutes, then flush with hot water.
- For stubborn clogs, a drain snake can help remove deeper blockages.
These methods are effective for most common clogs and can save you from costly plumbing services.
Replacing a Broken Light Switch
If a light switch feels loose or stops working, replacing it is a straightforward electrical repair.
What You’ll Need
- New light switch
- Screwdriver
- Voltage tester
Steps to Follow
- Turn off the power at the circuit breaker to ensure safety.
- Remove the faceplate and unscrew the old switch from the electrical box.
- Disconnect the wires carefully, noting their positions.
- Attach the wires to the new switch in the same configuration.
- Secure the switch back into the box and replace the faceplate.
Always double-check connections with a voltage tester before restoring power to avoid hazards.
Sealing Drafty Windows
Drafty windows can make your home less energy-efficient. Sealing gaps is an easy way to improve insulation.
What You’ll Need
- Weatherstripping tape
- Caulk and caulk gun
- Scissors
Steps to Follow
- Clean the window frame to ensure proper adhesion.
- Apply weatherstripping around movable parts to seal gaps.
- Use caulk to fill any stationary cracks or holes.
- Trim excess material for a neat finish.
This simple upgrade can reduce drafts and lower your heating and cooling costs.
Taking on DIY home repairs doesn’t have to be intimidating. With the right tools and a bit of guidance, you can handle these common fixes in just a weekend. Not only will you save money, but you’ll also gain confidence in maintaining your home. So roll up your sleeves—your next DIY project awaits!